
Step-by-step tutorial on making the Deku Tree from The Legend of Zelda using a 3D pen and acrylic paints.
How to Make the Deku Tree Using a 3D Pen and Acrylic Paints

This step-by-step tutorial shows you how I created a detailed Deku Tree from The Legend of Zelda series using a 3D pen and acrylic paints (hand-brushed and airbrushed). The final result is a forest diorama featuring the Deku Tree standing on a grassy base with flowers, a golden Triforce emblem, and the Master Sword placed before it.
To make this project easier to follow, I've included progress images and printable stencil templates you can use to recreate the same structure with your 3D pen.
🧰 Materials Used
- [accordion]
- 3D Pen with PLA filament (purple)
- Acrylic paints: browns, greens, silver, blue, yellow, white
- Brushes (flat, fine detail) and/or airbrush setup
- Super glue or hot glue
- Matte clear coat spray
- Optional: Neodymium Magnets
- Drawing Templates (Deku Tree with Base, and Hylian Sword & Shield Template)
🌳 Step 1: Sculpting the Trunk and Tree Face with 3D Pen
Using the 3D pen, I first shaped the vertical trunk, building up from a narrow base. I created bark texture by layering filament in uneven, natural lines. I used the template as a loose size guide.

|
| 📸Early Bark Texture |
The face was sculpted into the front of the trunk by applying filament in small layers to form the eyes, brows, and mouth. A hobby knife helped sharpen the expression once cooled.
🌿 Step 2: Building the Branches and Canopy

|
|
📸Deku Tree Base Structure |

|
|
📸Deku Tree Structure with Texture and Leaves
|
Branch arms were drawn out from the top using PLA filament. I then created clusters of leafy shapes tightly looping filament into organic bubble-like textures and grouping them together.
🎨 Step 3: Painting the Tree
After sculpting, I hand-brushed the entire trunk and branches with a red brown acrylic. Once dry, I added lighter brown dry-brushing to bring out bark depth, and a light green wash for moss effect.
Prior painting its important to sand using a light grit sandpaper 120 or 220, higher grit its not important because we want the surface to be rough.

|
| 📸Deku Tree Painted with Base Color |
Using an airbrush or paintbrush we start with brown base color and we paint dark brown and sand color for highlights.

|
| 📸Deku Tree With Light Brown Highlight |
For the canopy, I used several greens layering darker shades at the base and fading to light yellow-green at the outer leaf tips. I used an airbrush for a smooth gradient, but dry brushing also works well.

|
| 📸Deku Tree Leaf Highlights |
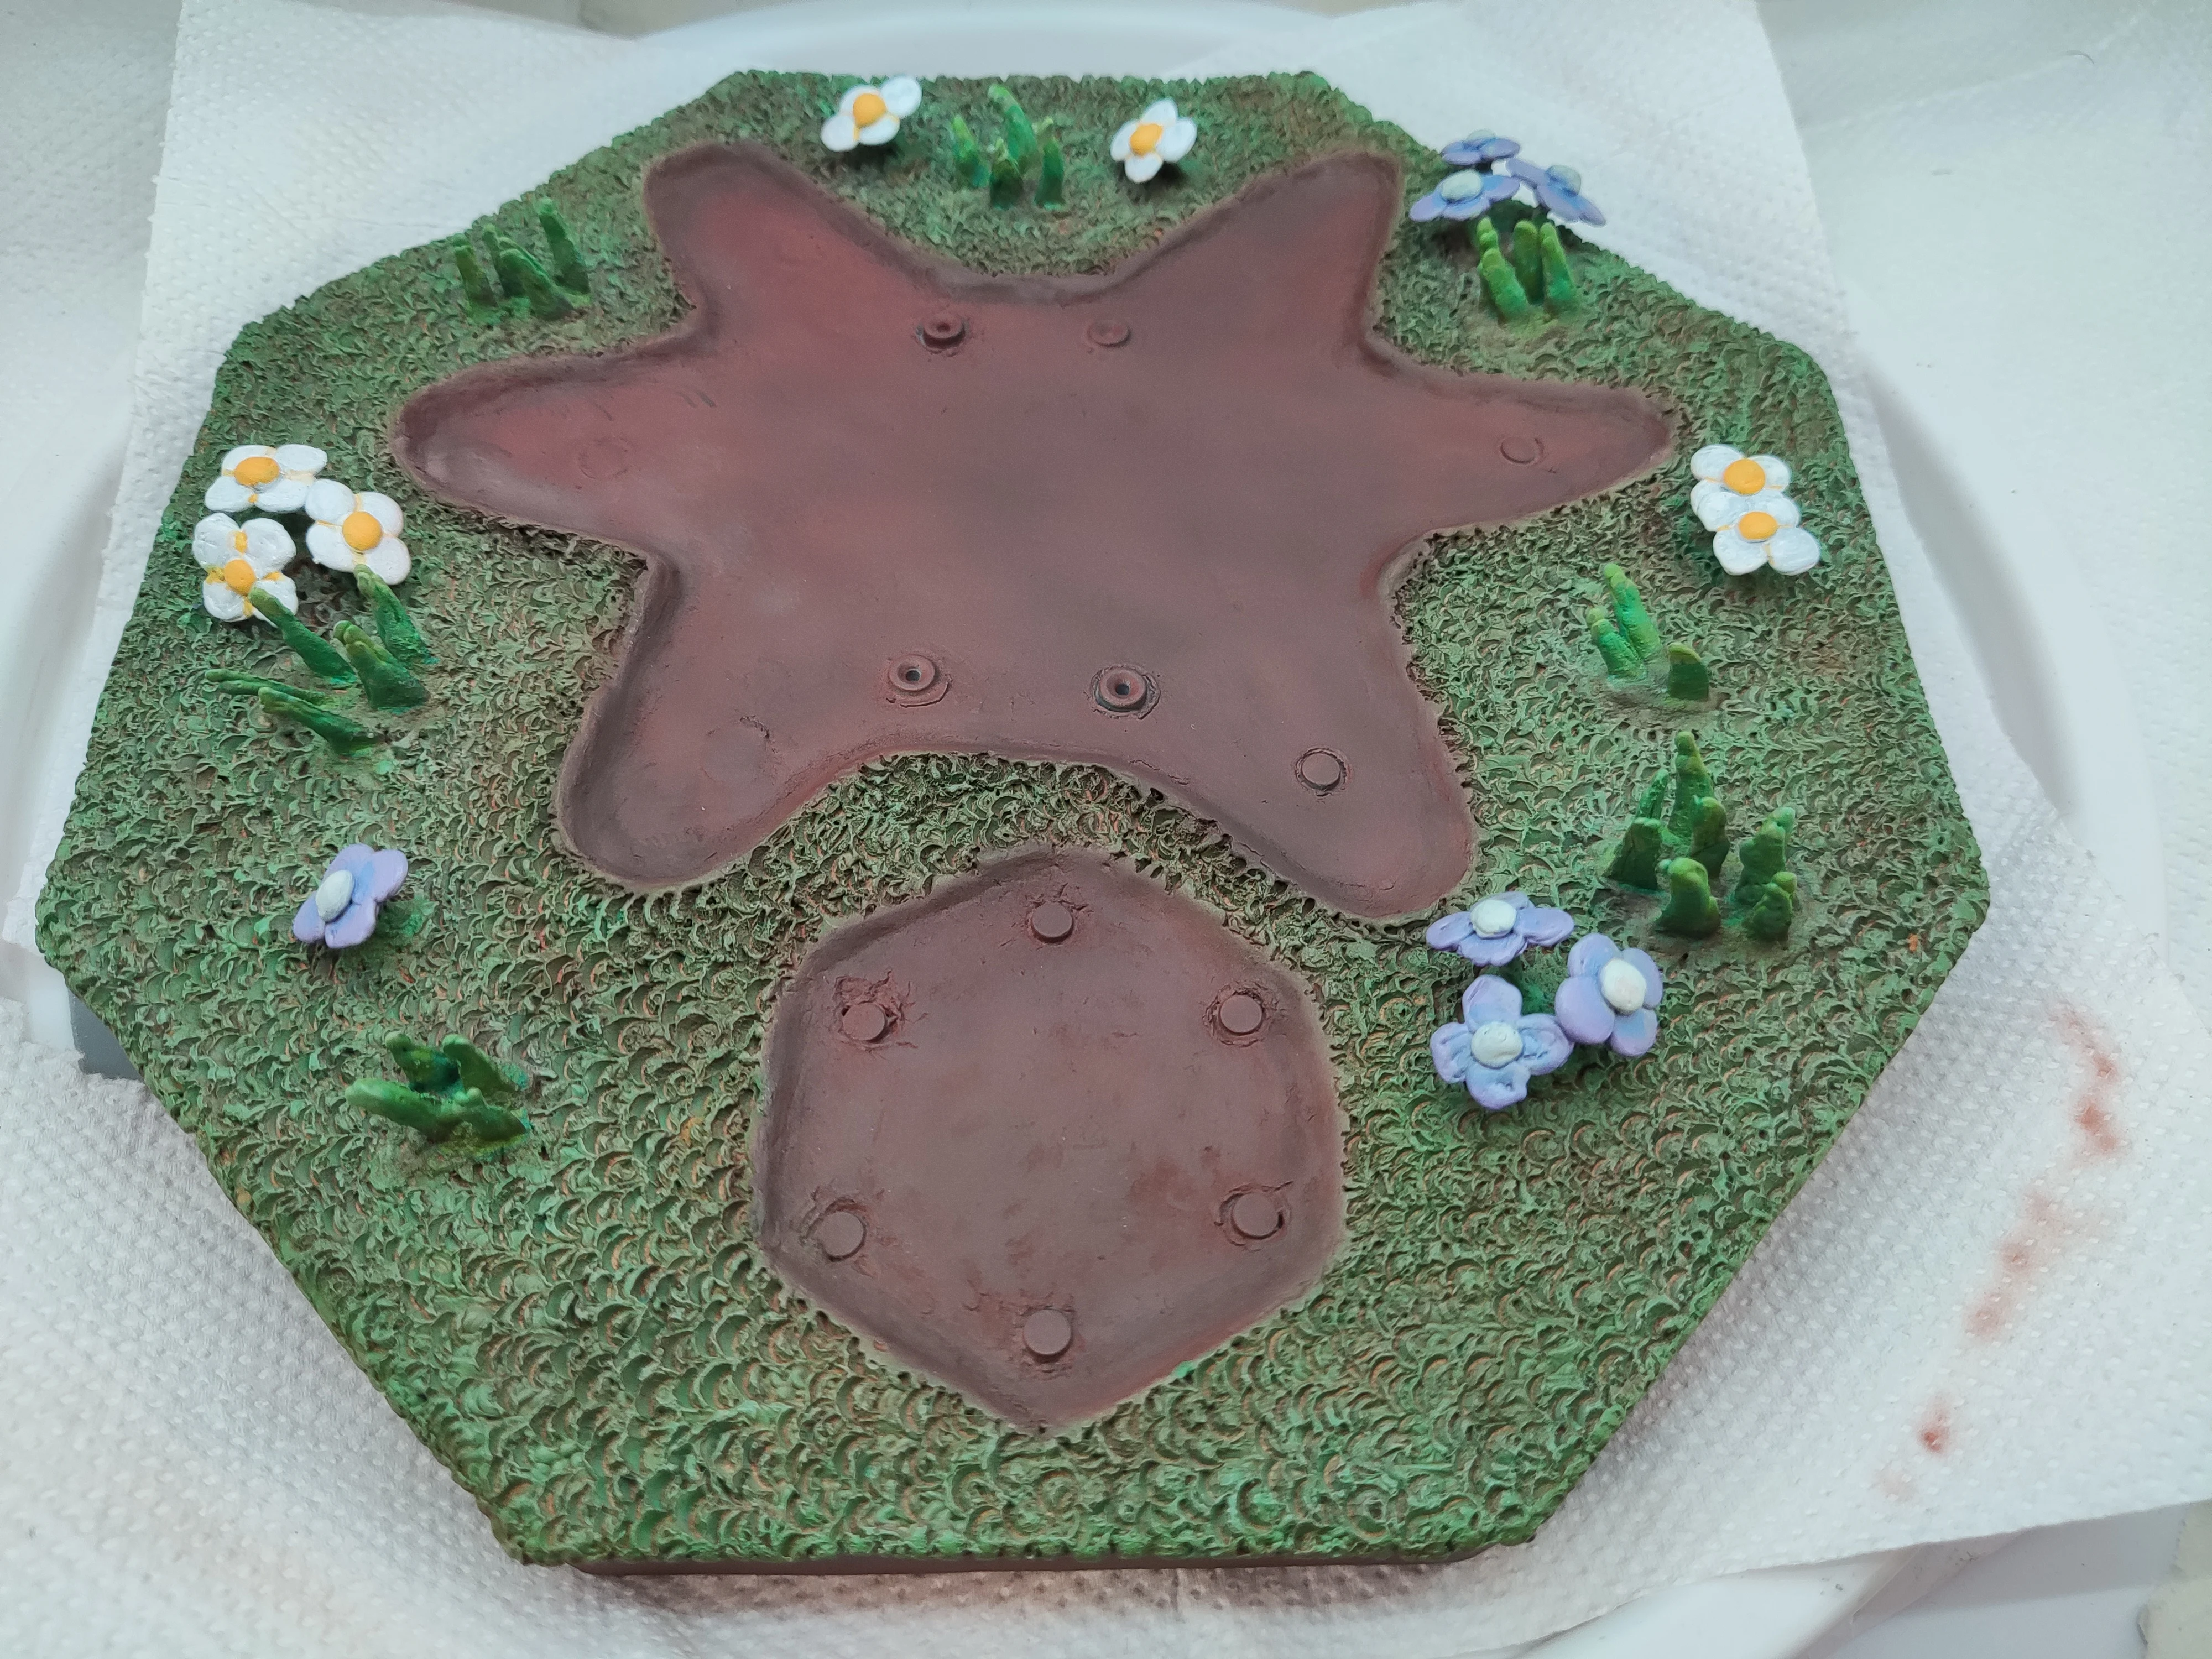
🌱 Step 4: Making the Base
The base was built using the Deku Tree with Base template. I textured it with green filament and left a shallow center area to fit the tree. Later, I carved an emblem socket using the template as a guide.

|
| 📸Base progression with grass texture |
🌸 Step 5: Decorating with Flowers and Triforce Emblem
Using white, purple, and yellow filament, I created small flowers and placed them around the base. I created a polygon (Triforce) in the front and painted it with acrylics.
|
| 📸Decorating base with flowers around the base |
🗡️ Step 6: Crafting the Master Sword
Using the Hylian Sword template, I sculpted the sword and shield from white filament. The sword was painted with silver for the blade and blue for the hilt, then positioned upright at the front of the base

|
| 📸Final detail showing the Master Sword and Triforce emblem |
✅ Final Assembly & Result
|
| 📸Deku Tree Final Result with Video |
- [message]
- Tip:
- "After all elements were painted and attached with magnets, I sealed the diorama with a matte clear coat. The tree now stands proudly with flowers, a glowing pond, and the sword in place — a true tribute to the world of Zelda."
💬 Final Thoughts
- [message]
- ##check## Congratulations on crafting your Deku Tree using a 3D pen!
- This was one of the most satisfying 3D pen builds I’ve completed. It’s a perfect project for Zelda fans or diorama hobbyists. If you decide to make one, let me know in the comments or tag me on your socials — I’d love to see your versions!


COMMENTS